


In the modern embroidery industry, success depends not only on artistic vision but also on technical precision. This balance is achieved through embroidery digitizing, a process that transforms digital designs into machine-readable stitch files. Whether it’s a corporate logo, fashion pattern, or custom patch, digitizing ensures that each stitch follows an exact route, producing flawless embroidery every time.
Embroidery digitizing has become the backbone of professional embroidery production. It enables businesses, designers, and hobbyists to achieve stunning detail and consistency across a wide range of garments and materials.
What Is Embroidery Digitizing?Embroidery digitizing is the process of converting artwork, images, or text into a stitch file that embroidery machines can interpret. This digital file controls how the machine moves, when it changes thread color, and how dense each area should be stitched.
A digitizer uses specialized software to plan every aspect of stitching — from direction and density to color order and underlay. This process ensures that the embroidery looks sharp, durable, and perfectly aligned with the original design intent.
Step-by-Step Process of Embroidery Digitizing
1. Preparing the Artwork
Before digitizing begins, the artwork must be optimized. Complex designs are simplified, and color areas are defined clearly. Vector graphics (AI, SVG, EPS) work best because they provide precise outlines for tracing.
2. Choosing the Right Software
Professional digitizers rely on tools such as Wilcom, Pulse, Hatch, or Embird. These programs allow for advanced control over stitch direction, density, and underlay placement.
3. Defining Stitch Types
Each area of the design is assigned a stitch type:
-
Satin Stitch: Smooth and glossy; ideal for letters and borders.
-
Fill Stitch (Tatami): Covers large areas evenly.
-
Run Stitch: Used for outlines and fine details.
4. Setting the Underlay
Underlay stitches strengthen the base, preventing fabric shifting or puckering. The digitizer determines which underlay type — edge run, zigzag, or center walk — suits the fabric and design.
5. Color Sequencing
The design’s thread colors are mapped to machine needles to maintain proper stitching order, reducing unnecessary trims or thread changes.
6. Sample Run and Refinement
A sample embroidery test helps identify density or alignment issues. Adjustments are made until the output looks perfect, ensuring the file is production-ready.
Why Embroidery Digitizing Is Essential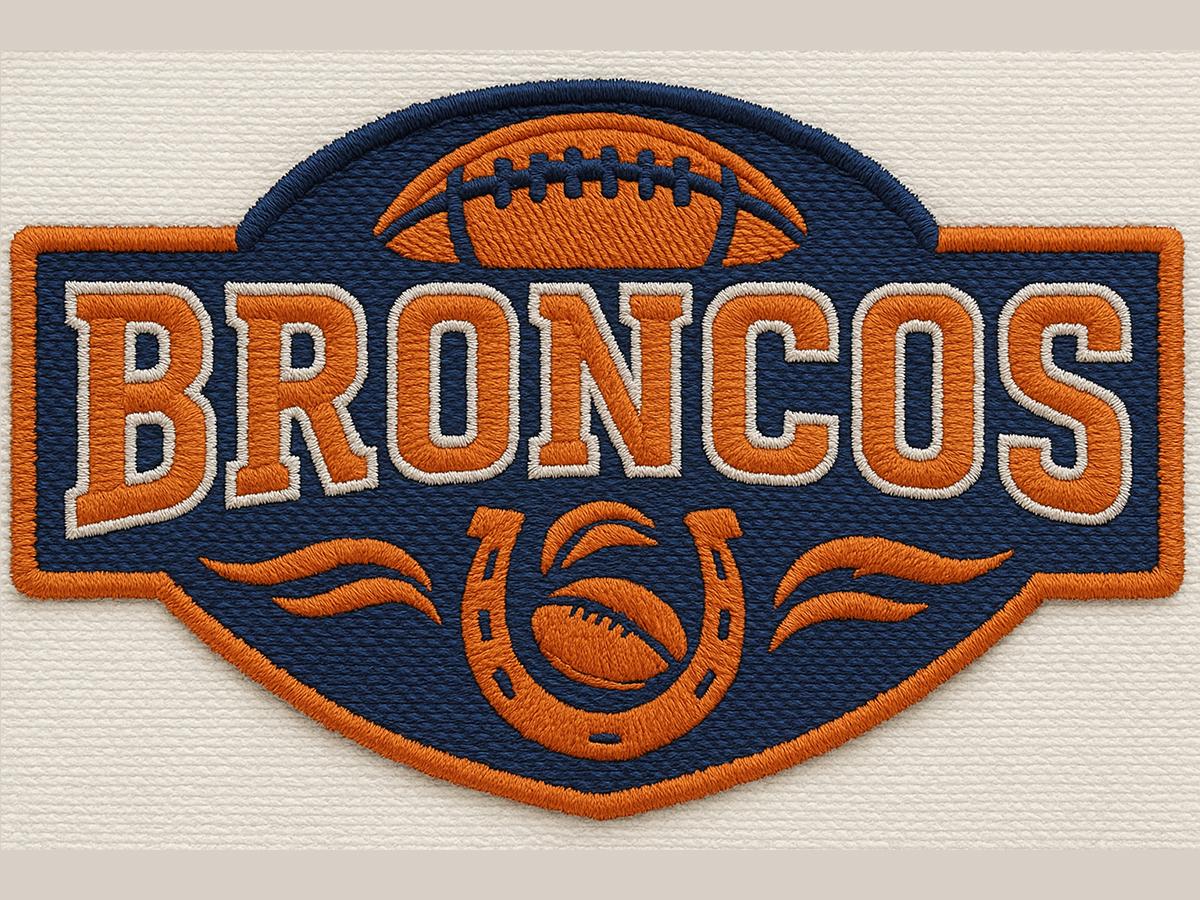
Digitizing determines how well a design translates to fabric. Even the most beautiful logo can look distorted or unfinished if the digitizing is poor. Professional digitizing ensures:
-
Consistency: Every product looks identical, batch after batch.
-
Efficiency: Machines run smoothly with fewer thread breaks.
-
Durability: Proper density ensures long-lasting stitches.
-
Visual Appeal: Smooth edges, vibrant colors, and accurate details.
In short, great digitizing turns creativity into reality.
Tools and Technologies Used in Modern DigitizingDigitizing has evolved with technology, offering tools that make the process faster and more accurate.
-
Wilcom Embroidery Studio: Industry standard for advanced editing.
-
Hatch Embroidery: Perfect for small businesses and home use.
-
Embird Studio: Affordable and powerful, ideal for learners.
-
Brother PE-Design: Simplified workflow for domestic machines.
-
Pulse DGML: Used by large production houses for mass output.
Each software enables detailed visualization and stitch simulation, helping digitizers preview how their designs will look once embroidered.
Common Challenges and Their SolutionsEmbroidery digitizing involves numerous variables — fabric stretch, thread type, density, and color transitions. Some common challenges include:
-
Small Lettering: Tight stitches can cause distortion; using run stitches or reducing density helps.
-
Fabric Puckering: Adding the correct underlay and adjusting tension prevents distortion.
-
Color Bleeding: Careful sequencing and proper thread trimming keep colors crisp.
-
Uneven Texture: Adjusting stitch direction and density maintains smoothness.
Experienced digitizers understand these factors intuitively, ensuring clean and efficient results.
Applications of Embroidery Digitizing
Digitizing supports an array of industries and uses:
-
Corporate Branding: Logos on uniforms, jackets, and caps.
-
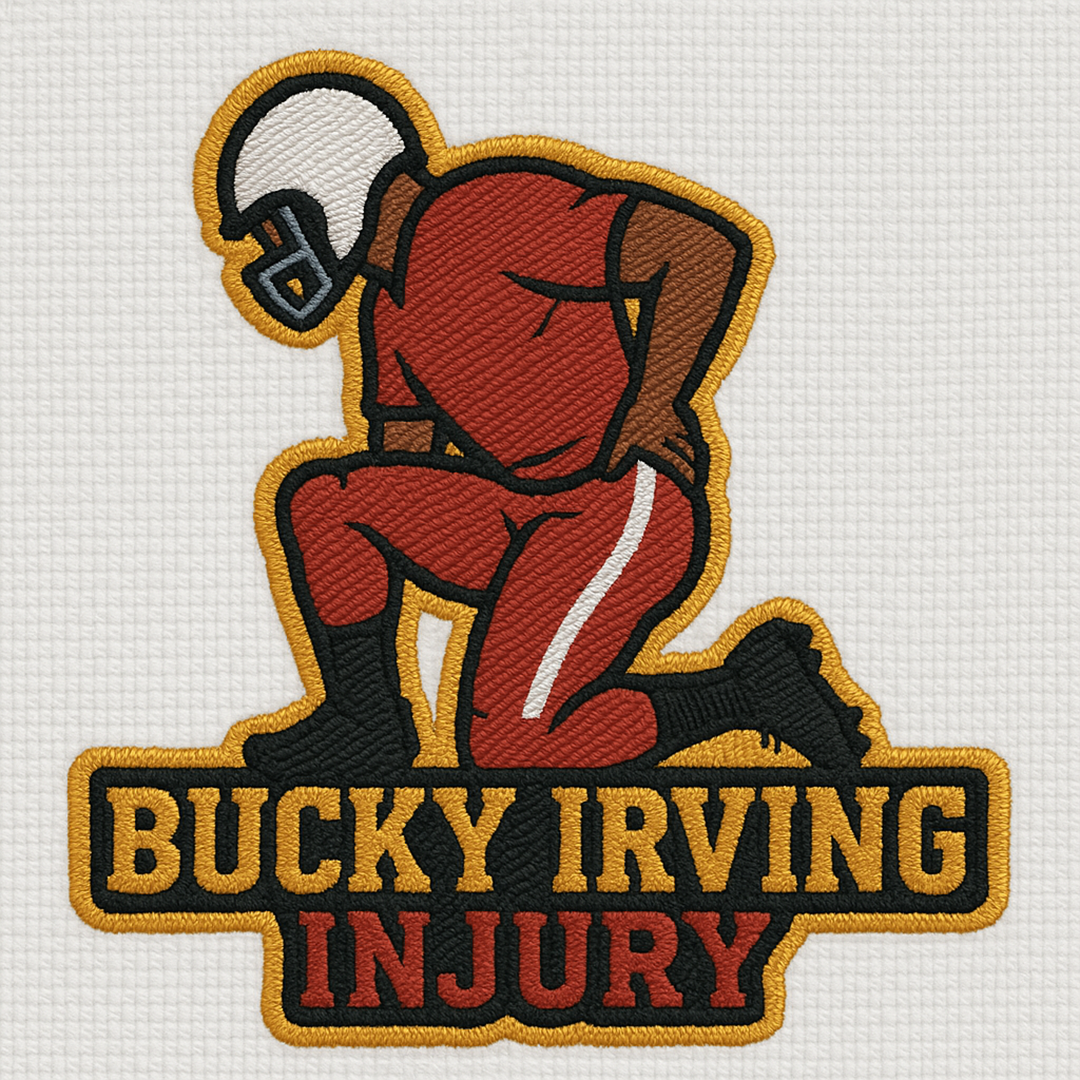
Sportswear: Team emblems, player numbers, and mascots.
-
Fashion Industry: Decorative motifs on denim, hoodies, and handbags.
-
Patches and Badges: Iron-on and Velcro patches for clubs, events, and promotions.
-
Personalization: Custom monograms and personalized gifts.
Every embroidered product you see — from caps to uniforms — begins with high-quality digitizing.
Benefits of Professional Embroidery Digitizing-
Enhanced Efficiency: Optimized stitch paths reduce machine run time.
-
Reduced Errors: Properly sequenced designs minimize thread breaks.
-
Fabric Versatility: Works seamlessly on cotton, polyester, leather, and fleece.
-
Long-Term Savings: Quality files can be reused for future orders.
-
Premium Finish: Clean edges and balanced textures ensure professional presentation.
A single well-digitized file can serve thousands of embroidered products over time.
Real-World Example: Digitizing a Company LogoA professional digitizer receives a corporate logo that includes fine text and multiple colors. They start by simplifying small elements, converting the design into vector outlines, and assigning satin stitches for lettering. Fill stitches are used for the logo’s main background, and underlay ensures clean stitching on polo fabric. After testing and refining density, the final output is crisp, smooth, and ready for production.
This process shows how expertise transforms complex designs into efficient, machine-friendly files.
Future of Embroidery DigitizingThe next generation of digitizing is being shaped by artificial intelligence and automation. AI-based systems can predict ideal stitch density, balance tension, and even auto-correct pathing errors. Cloud-based software now allows digitizers to work collaboratively across borders, streamlining global production.
In addition, sustainable digitizing practices are emerging — optimizing thread usage and minimizing material waste, supporting eco-friendly embroidery operations
Tips for Better Digitizing Results-
Always begin with clean, high-resolution artwork.
-
Adjust density according to fabric type.
-
Keep lettering at least 0.25 inches for readability.
-
Perform a sample test before mass production.
-
Balance stitch angles for smoother textures.
Attention to detail at every stage ensures flawless embroidery from start to finis
FAQs About Embroidery Digitizing
1. What is the purpose of embroidery digitizing?
It converts artwork into stitch instructions that embroidery machines can read and execute precisely.
2. How long does it take to digitize a logo?
Simple designs can be completed in 1–2 hours, while complex ones may take several hours depending on detail.
3. What is the difference between vector art and embroidery digitizing?
Vector art is for printing; digitizing translates design into physical stitches.
4. Can any image be digitized for embroidery?
Yes, but highly detailed or shaded images may need simplification to stitch well.
5. Which file formats are commonly used?
DST, PES, EXP, JEF, and HUS are popular formats for different machine brands.
Embroidery digitizing is the heart of professional embroidery — combining design expertise, technical precision, and machine intelligence. It allows logos, patterns, and illustrations to be stitched perfectly, every single time. Whether you’re creating uniforms, promotional items, or fashion pieces, the quality of your digitizing determines the quality of your embroidery.
When executed by skilled professionals, embroidery digitizing turns ordinary artwork into extraordinary fabric art — ensuring every thread tells a story of creativity, accuracy, and craftsmanship.